
Sure, I’ve tripped over stuff before. You people have SEEN me trip over my own skis, patches or ice, or detritus on the trail. Occasionally it’s dog toys laying around the house, and once or twice over a cat I thought was going to zig but really zagged. I’ve even tripped over my own feet or pants legs. At best it’s embarrassing and at worst it ends with an injury, and no one really wants either one.
But if I imagine that I have four legs instead of two, and that I’m running on a trail through the woods pulling a scooter, it makes me think that a bad trip or fall could be so much worse and my trippy old feet could use some lessons to help prevent one: Better body awareness; attention to where my feet are and what they’re doing; coordination and balance; flexibility; muscle strength and muscle memory. I practice yoga to help me with those things, but even though most instructors are pretty chill I don’t think students who scratched up the studio floor, harassed their fellow students, and got hair everywhere would be welcomed back a second time. So what’s a Mush Puppy to do?
There are a variety of exercises that can help teach dogs these skills. One is practicing walking over obstacles such as cavaletti poles. There are a lot of pre-made cavaletti pole sets, ladders, or other variations on the theme available for purchase, but if you’re at all handy you can make your own. I’m going to walk you through how I made a cavaletti-ish ladder to start my Mush Puppies out on. Eventually I’ll work up to individual pieces that can be arranged in various angles, heights, and distances from each other, but starting out I wanted something easy and uniform for them and easy for me to move around as a single unit.
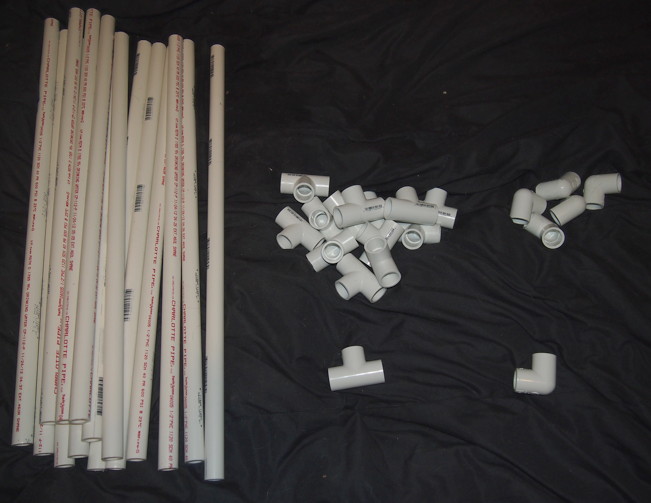
I started with a pile of PVC stuff: Pre-cut 2 foot sections of pipe, Ts, and elbows. These are all 1/2″ diameter because it is the cheapest and super fast and easy to saw through with a small hacksaw.
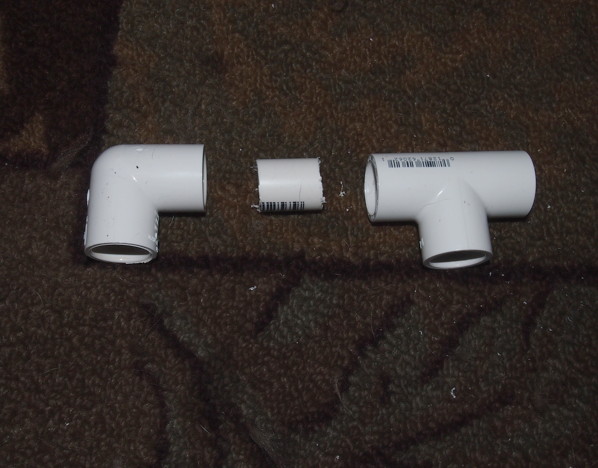
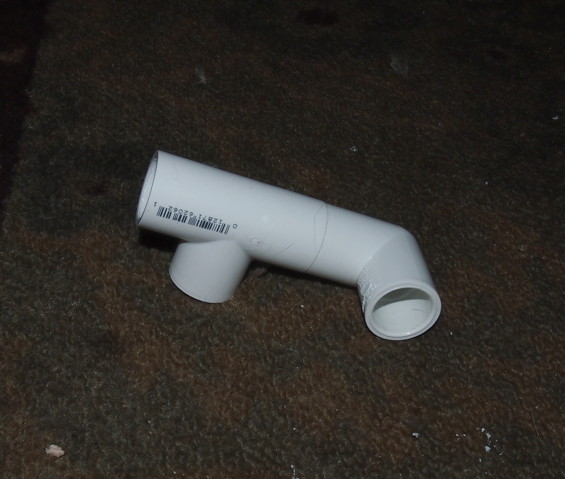
First I made the four corner pieces. I cut short (1″) pieces of pipe and used them to connect an elbow and a T, thusly:
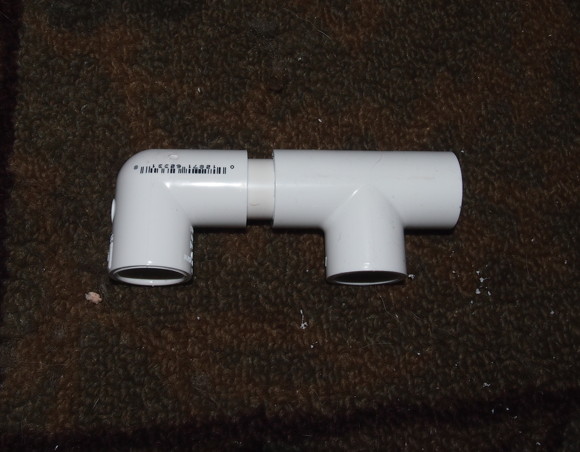
Then twist to a ninety-degree angle. You’ll need two twisted one way and two twisted the other way, which the second picture illustrates quite badly now that I look at it but I’m not taking the whole thing apart again to take another one so you’ll have to muddle through somehow.
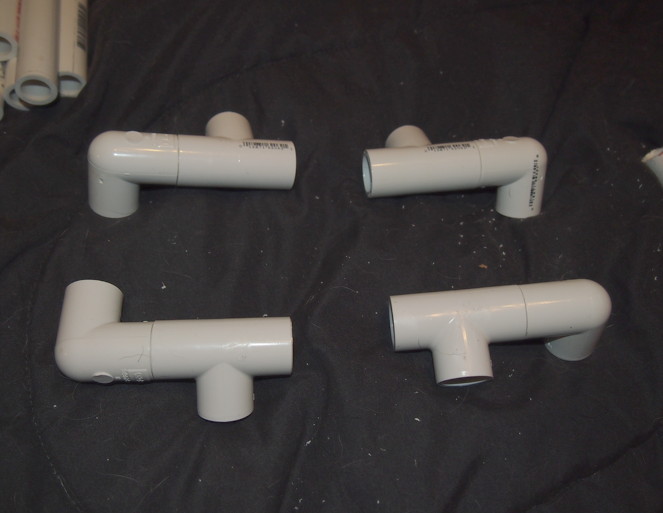
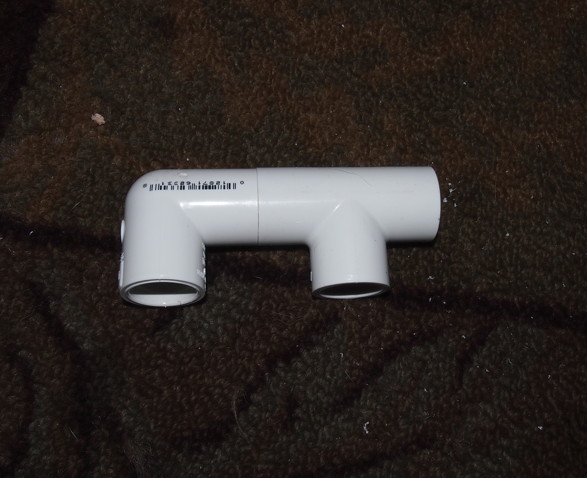
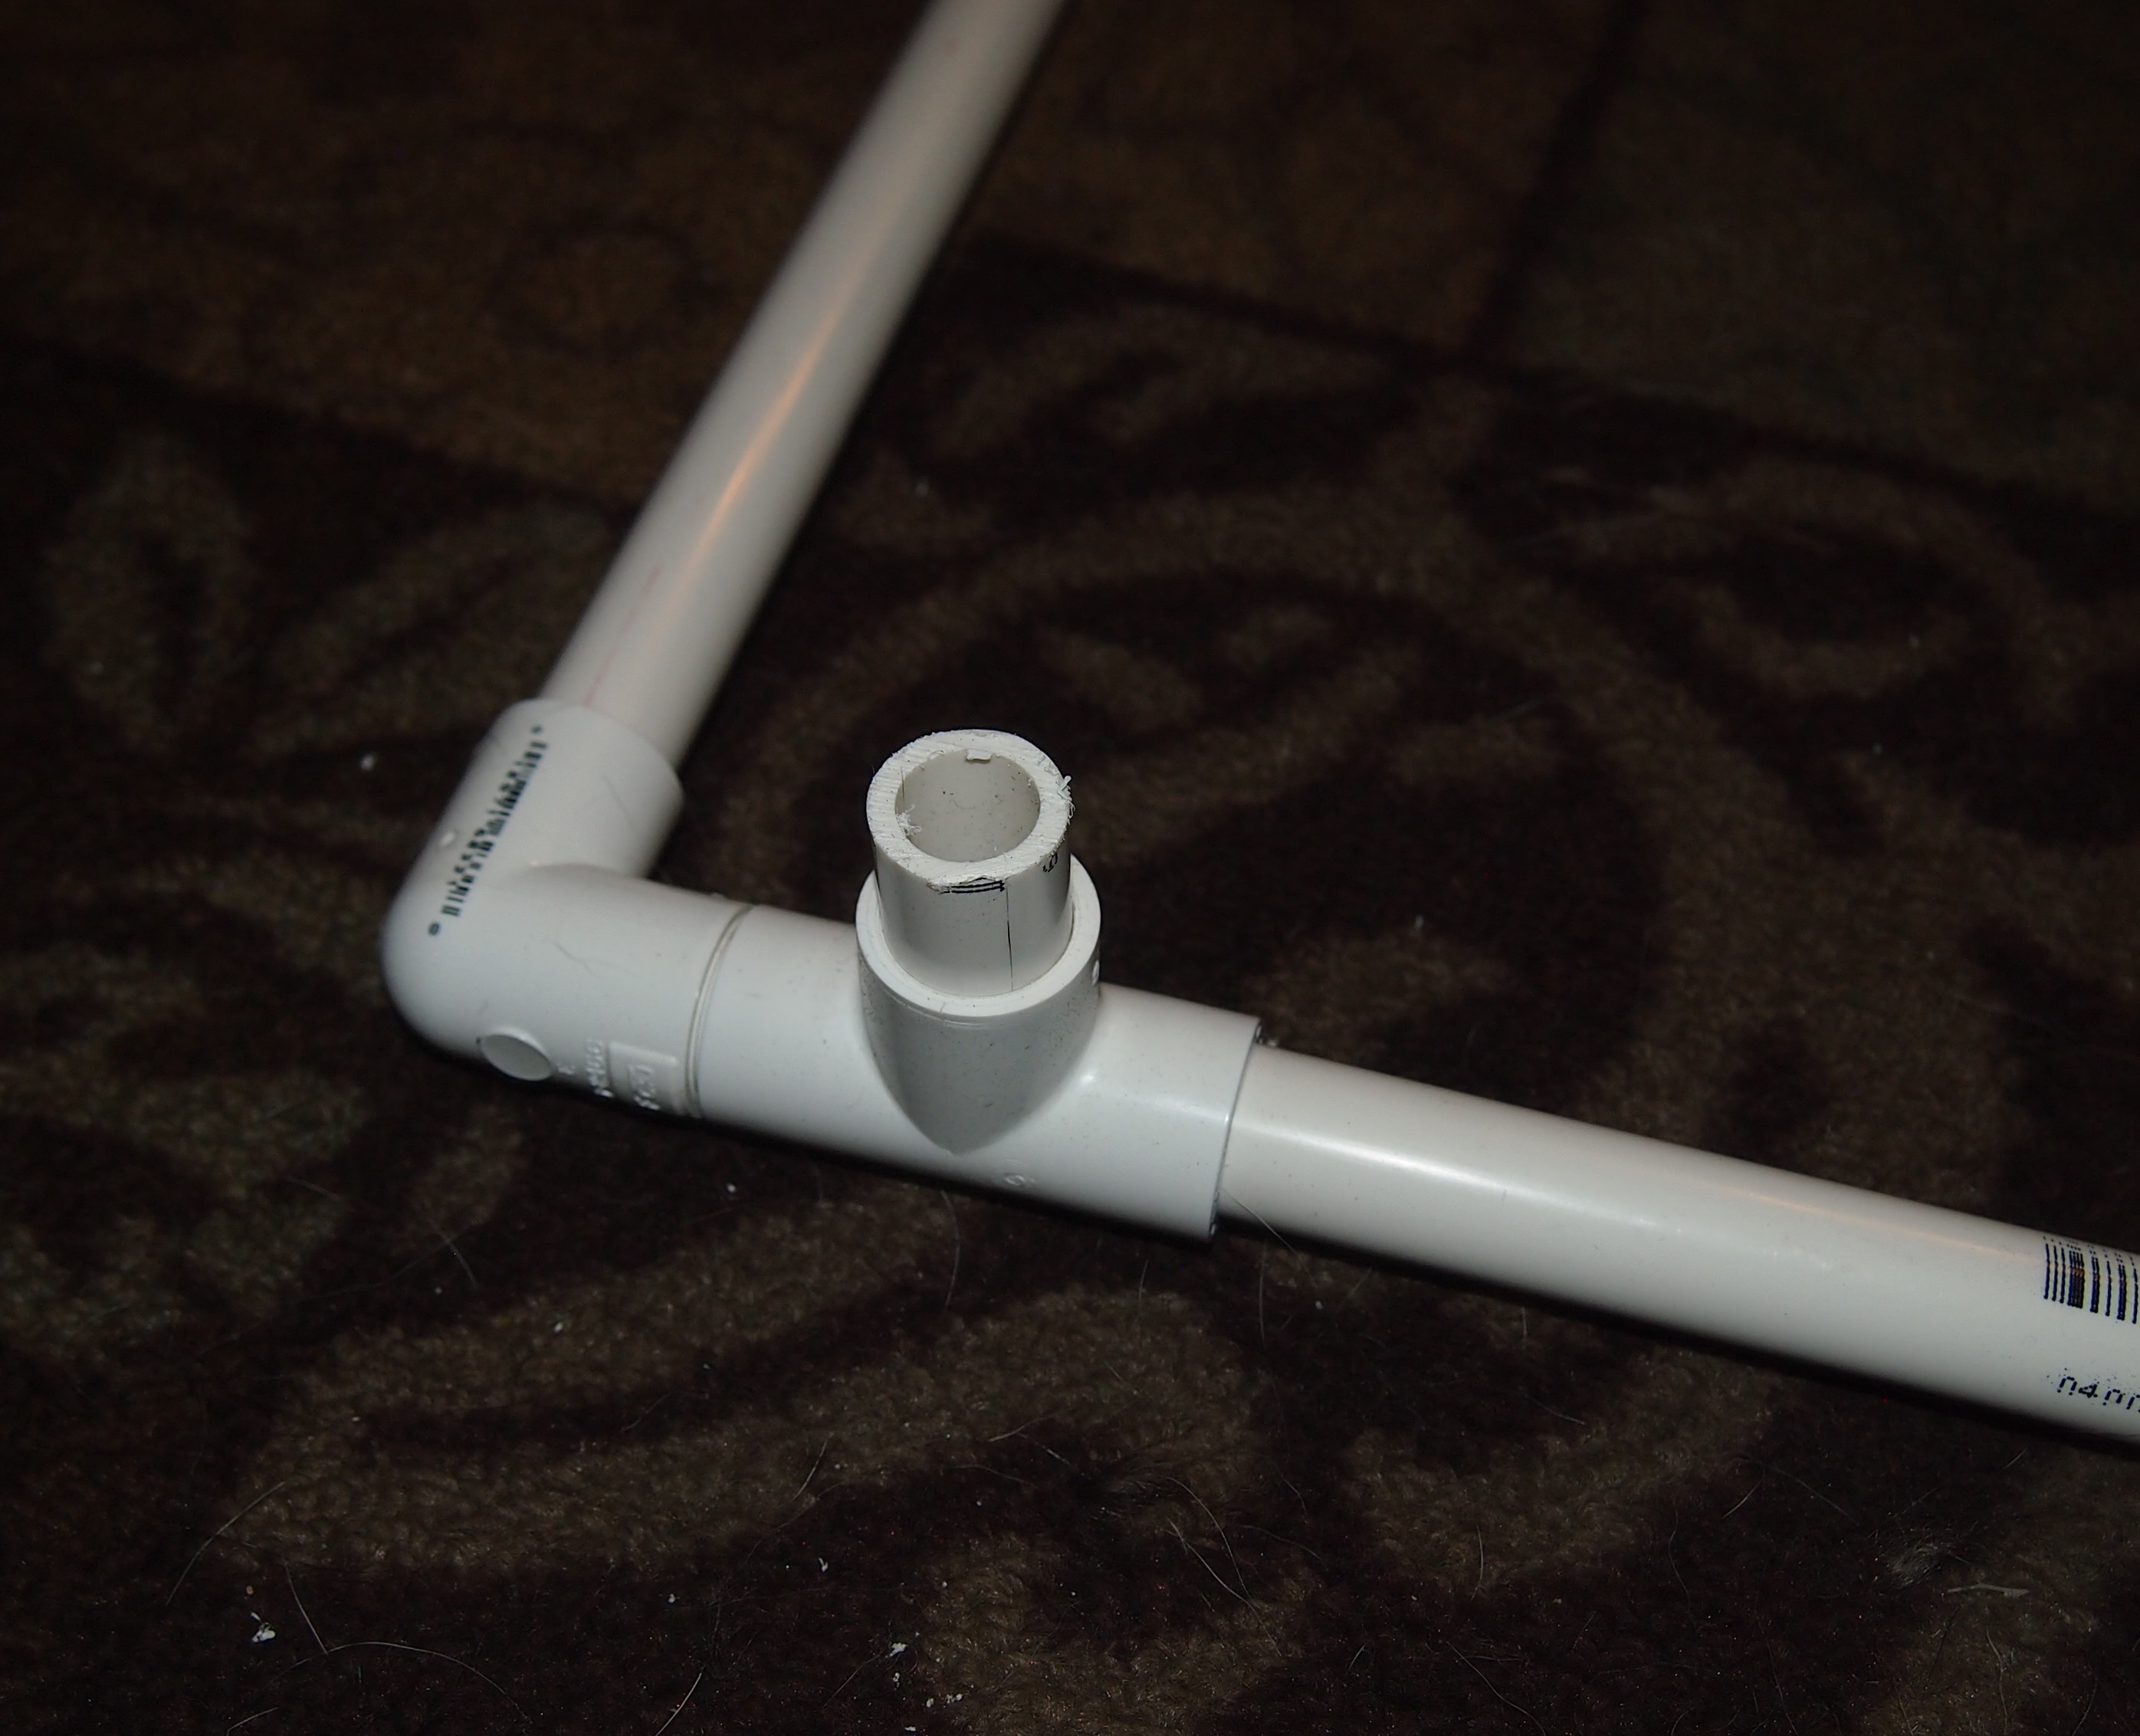
Now, just stick your corners on the ends of two of the two-foot sections of pipe (or whatever length you like), thusly. This does a better job of showing how the corner pieces need to be twisted. It’s important that you stick the T onto the pipe, not the elbow. (Apparently it’s more intuitive to stick the elbow onto the pipe because I did that first four out of four times.)


I decided to start with a distance of one foot between the rungs of my ladder, so I had to saw some of my two foot pieces in half. Stick the one foot pieces into the open ends of the elbows on the corner connectors. Then stick another T on the end of the pipe with the short end pointed towards the middle, so you have a place to connect your rungs.
Next, I assembled my rungs. Because the way I made my corners added a little length to my end rungs, a single two foot section of pipe was too short to go all the way across for the middle rungs. Also, I wanted to have some feet on the rungs so they wouldn’t sag. The total measured distance I needed for each rung was 29″. Since I had cut more 12″ pieces than I needed for the sides of my ladder and I wanted to use them up, I used my mad mathematical skills to determine that I needed some 17″ pieces to go with them. Whatever lengths you choose, connect the two pieces with a T connector. (What I do like about how these particular lengths turned out is that the feet of the rungs created by the T connectors ended up slightly staggered which seems to make the whole contraption a bit more stable at the end of the day.)
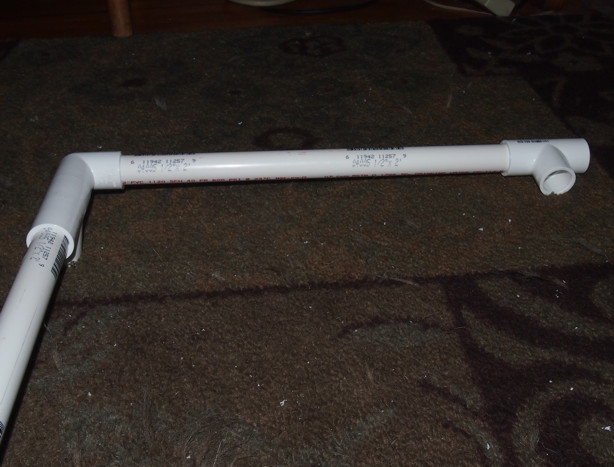
Anyway, here’s a rung.

And here it is in its new home (upside down to see the connectors better).

And a rung added to the other end.

One last rung for the middle. Make an “H” with the rung (with its 17″ + T connector + 12″ configuration), a T connector at each end, and four 12″ pieces of pipe thusly:

Then just attach and tighten everything:


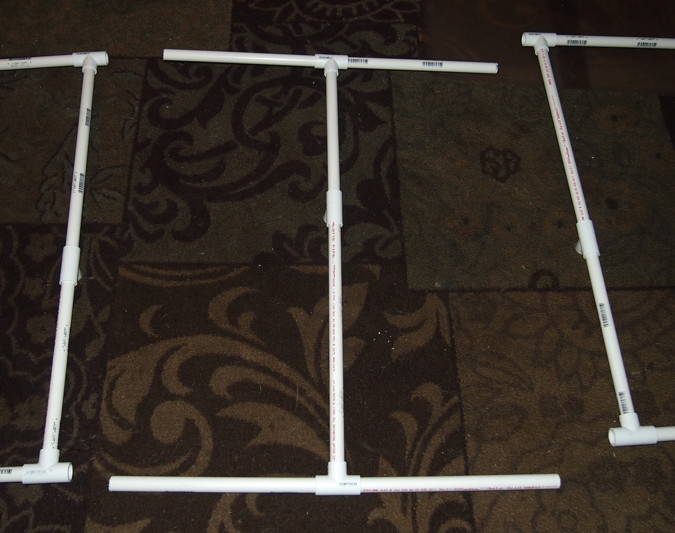
This very busy picture shows how much of everything I used and where it all is. (Obviously my shorter lengths of pipe were cut down from additional 24″ lengths of pipe, so you need to purchase more than two if you’re buying pre-cut 24″ pieces):
Two 24″ lengths of pipe (blue arrows)
Eleven 12″ lengths of pipe (yellow arrows)
Three 17″ lengths of pipe (pink arrows)
Thirteen T-connectors (red arrows)
Four elbow connectors (green arrows)

One reason I wanted feet is that I can use varying cut lengths of pipe to add height in the future. For instance, with and without a 1″ boost:

The final product and its happy customer.

In training, the dogs will simply move back and forth along the ladder at various speeds and with it set at varying heights. It’s a deceptively simple exercise that helps teach them a great deal of body awareness that is useful for any dog, whether they participate in sports or not.
